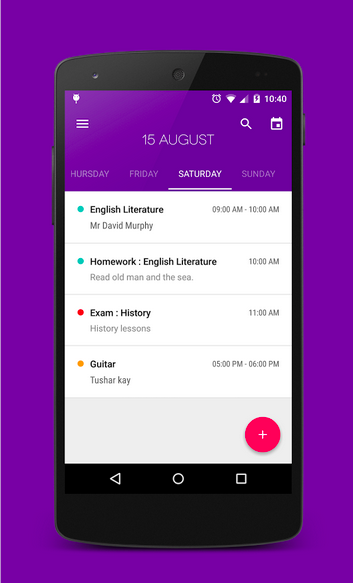
หลังจากที่ Android ออกเวอร์ชัน Lollipop หรือ SDK V 21-23 ออกมานั้นก็ได้มี Material Design ออกมาให้เราได้ตกแต่ง UI แอพของเราครับ
การออกแบบของ Material Design นั้นก็สามารถไปหาดูได้ในเว็บไซต์นี้ครับ http://www.materialup.com
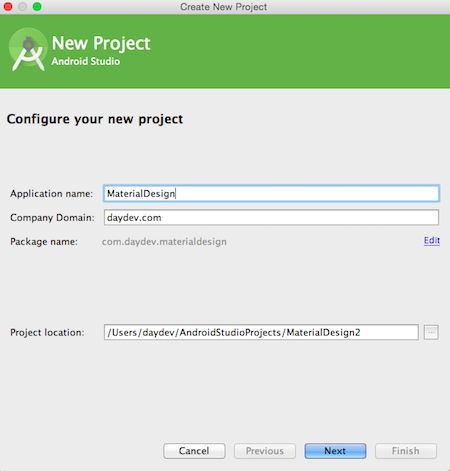
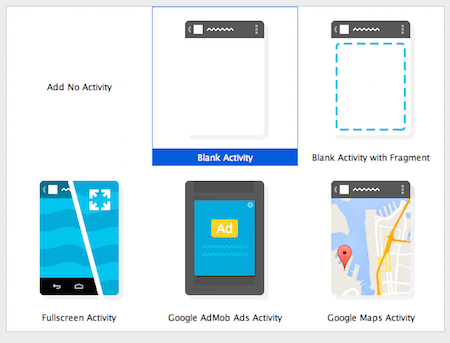
เรามาเริ่มกันดีกว่าครับ ให้เปิด Android Studio ขึ้นมาครับ ทำการ Update SDK ของ V21 ไปจนถึง 23 กันก่อนนะครับ อย่าลืมอัพเด็ตตัว Android Studio เองด้วยล่ะ สร้าง Project ใหม่ขึ้นมาเลยครับ
เมื่อสร้าง Project มาแล้วให้เราไปศึกษาทฟษฏีการออกแบบ และชุดสีสำหรับ Material Design กันก่อนนะครับ
ศึกษาที่นี่: http://www.google.co.in/design/spec/style/color.html#color-color-palette
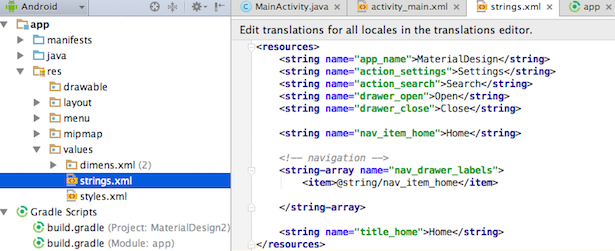
ถ้าเล็งชุดสีที่จะใช้กันแล้วให้เราเปิด ไฟล์ res -> values -> strings.xml ขึ้นมาครับ
ให้เราสร้างชุด String มาเตรียมไว้ก่อนคือ app_name ชื่อ MaterialDeisng ครับ ตามด้วย action ทั้งหมดคือ Setting, Search, Open และ Close ตามด้วย Navigation คือ Home ครับ
<resources>
    <string name="app_name">MaterialDesign</string>
    <string name="action_settings">Settings</string>
    <string name="action_search">Search</string>
    <string name="drawer_open">Open</string>
    <string name="drawer_close">Close</string>

    <string name="nav_item_home">Home</string>

    <!-- navigation -->
    <string-array name="nav_drawer_labels">
        <item>@string/nav_item_home</item>

    </string-array>

    <string name="title_home">Home</string>
</resources>
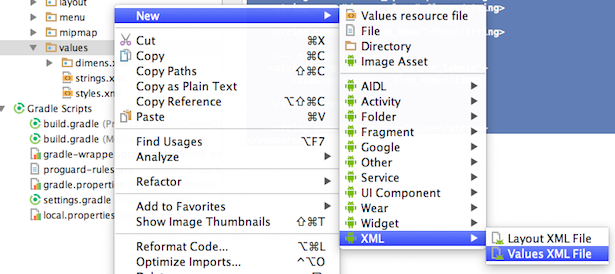
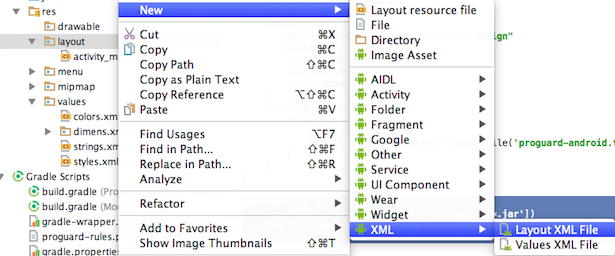
ต่อมาสร้างไฟล์ชุดสีของเราครับ คือ colors.xml ให้เราคลิกขวาที่ res เลือกสร้าง Values XML ขึ้นมาครับ ตามภาพ
สร้างไฟล์ชื่อ colors.xml ครับ
สังเกต แถบสีด้านหน้าครับ เราสามารถปรับเลือกสีได้ตรงบริเวณนั้นเลย
ส่วนนี่คือไฟล์ colors.xml ข้างบนครับ
<?xml version="1.0" encoding="utf-8"?>
<resources>
    <color name="colorPrimary">#ff9adc2b</color>
    <color name="colorPrimaryDark">#ff32a546</color>
    <color name="textColorPrimary">#FFFFFF</color>
    <color name="windowBackground">#FFFFFF</color>
    <color name="navigationBarColor">#ff1c4ca5</color>
    <color name="colorAccent">#ffff577e</color>
</resources>
ไปที่ res->values->styles.xml ครับแก้ไขจาก
<resources>

    <!-- Base application theme. -->
    <style name="AppTheme" parent="Theme.AppCompat.Light.DarkActionBar">
        <!-- Customize your theme here. -->
    </style>

</resources>
เป็น
<resources>

    <style name="DaydevTheme" parent="MyMaterialTheme.Base">

    </style>

    <style name="MyMaterialTheme.Base" parent="Theme.AppCompat.Light.DarkActionBar">
        <item name="windowNoTitle">true</item>
        <item name="windowActionBar">false</item>
        <item name="colorPrimary">@color/colorPrimary</item>
        <item name="colorPrimaryDark">@color/colorPrimaryDark</item>
        <item name="colorAccent">@color/colorAccent</item>
    </style>

</resources>
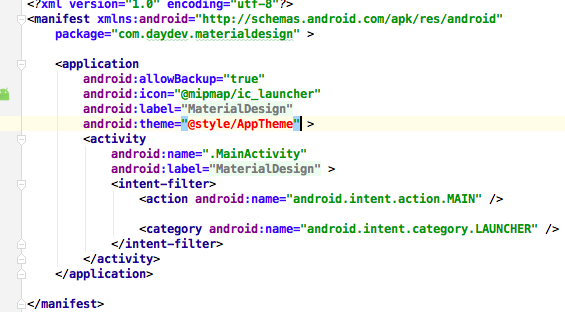
ผมตั้งชื่อธีมของผมว่า “DaydevTheme” ครับ ดังนั้นเราต้องไปที่ app -> manifests-> AndroidManiFest.xml ครับ
แก้ส่วนของ AppTheme เป็นชื่อ ธีมของเราครับ
<?xml version="1.0" encoding="utf-8"?>
<manifest xmlns:android="http://schemas.android.com/apk/res/android"
    package="com.daydev.materialdesign" >

    <application
        android:allowBackup="true"
        android:icon="@mipmap/ic_launcher"
        android:label="@string/app_name"
        android:theme="@style/DaydevTheme" >
        <activity
            android:name=".MainActivity"
            android:label="@string/app_name" >
            <intent-filter>
                <action android:name="android.intent.action.MAIN" />

                <category android:name="android.intent.category.LAUNCHER" />
            </intent-filter>
        </activity>
    </application>

</manifest>
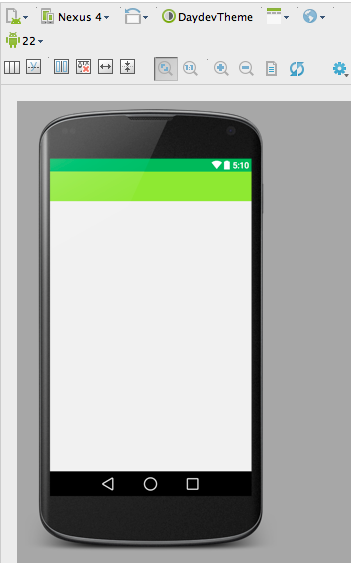
เวลา Preview ให้เลือก V 22 ครับ เปลี่ยนธีมเป็น Manifests Theme เลือกชื่อธีมของตัวเองที่สร้างไว้ครับ สังเกตตอน Preview แถบสีส่วนของ colorPrimaryDark ก็จะมาละ
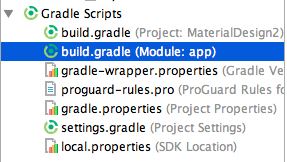
ส่วนนี้ถ้าหลายคนไม่สามารถโชว์ได้ให้เปิด gradle ขึ้นมาครับ
เปลี่ยน version เล็กน้อยให้เป็นแบบนี้ใน build.gradle ครับ
dependencies {
    compile fileTree(dir: 'libs', include: ['*.jar'])
    compile 'com.android.support:appcompat-v7:22.2.0'
}
สร้าง toolbar.xml ขึ้นมาบน res->layout-> toolbar.xml ครับ
สร้าง id ให้มันชื่อว่า toolbar ครับ โดย code ส่วนนี้
<?xml version="1.0" encoding="utf-8"?>
<android.support.v7.widget.Toolbar xmlns:android="http://schemas.android.com/apk/res/android"
    xmlns:local="http://schemas.android.com/apk/res-auto"
    android:id="@+id/toolbar"
    android:layout_width="match_parent"
    android:layout_height="wrap_content"
    android:minHeight="?attr/actionBarSize"
    android:background="?attr/colorPrimary"
    local:theme="@style/ThemeOverlay.AppCompat.Dark.ActionBar"
    local:popupTheme="@style/ThemeOverlay.AppCompat.Light" />
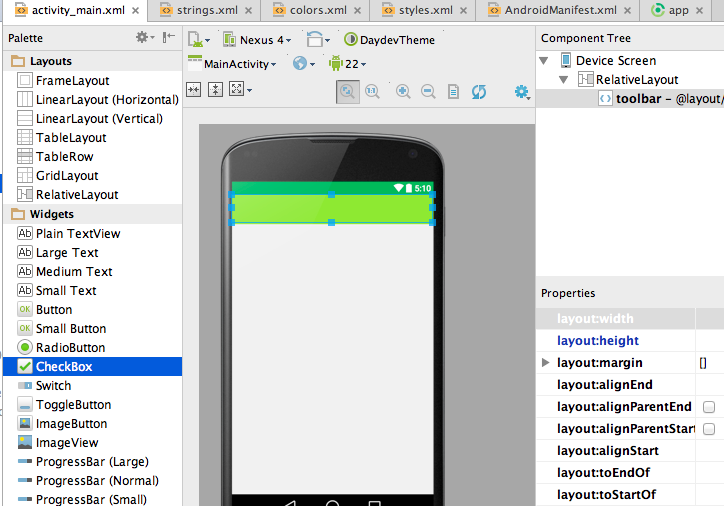
ลอง Preview ส่วนของ toolbar.xml
เราสามารถนำ toolbar.xml ไปแสดงผลที่ activity_main.xml ได้โดยการ include เข้าไปครับ
<include
            android:id="@+id/toolbar"
            layout="@layout/toolbar" />
เวลาใส่ก็คือแบบนี้
<RelativeLayout xmlns:android="http://schemas.android.com/apk/res/android"
    xmlns:tools="http://schemas.android.com/tools" android:layout_width="match_parent"
    android:layout_height="match_parent" tools:context=".MainActivity">

    <include
        android:id="@+id/toolbar"
        layout="@layout/toolbar" />


</RelativeLayout>
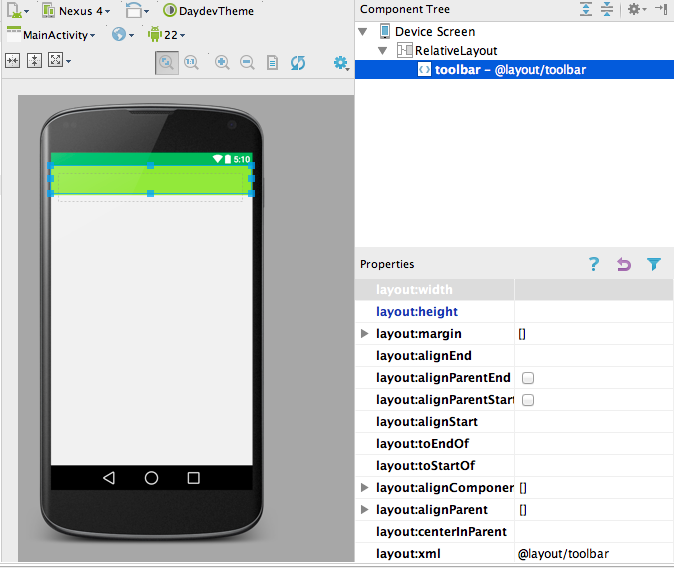
Preview ก็จะเป็นแบบนี้ครับ
เป็นตัวอย่างการใช้งาน Material Design การ include หน้า Layout 2 ตัวมาใช้ร่วมกันครับ
ตัวอย่างต่อไปจะเป็นการใช้ CareViews และ RecyclerView ที่เป็นส่วนของ ViewGroup ของ Material Design ครับ
อ่านต่อ: เขียนแอพ Android การใช้ CardView ร่วมกับ UI

