ช่วงนี้มีงานด้าน Interactive Media มากขึ้นจะใช้ HTML5 ขี้เกียจทำ Responsive ลองมาจบงานด้วย Unity ก็ถือว่าโอเคดีกับการทำตู้ Sticker ผ่าน Webcam
งานนี้เป็น Tutorial How to ง่ายๆ ในการใช้ Webcam ของเครื่องคอมฯ ไม่ก็ตู้ Kiosk สำหรับเล่น Interactive Media ทั้งหลายให้ถ่ายรูปหน้าของผู้เล่นแล้วบันทึกภาพเก็บไว้ใน folder ของงาน แล้วค่อยดึงภาพจาก folder ที่เก็บภาพมาใช้กับ RawImage ของเกม โจทย์ง่ายๆ ทำง่ายๆ รับเงินง่ายๆ และเอามาแชร์กัน เผื่อใครอยากจะมาเรียนผมก็สอนที่ หลักสูตรผมที่มหาวิทยาลัยผมอยู่
ก่อนอื่นเราจะต้องคิดว่า เราจะวางหน้าของเราไปซ้อนตัวละครยังไง ให้เราออกแบบ face_base ที่เราจะไปซ้อนก่อนซึ่งเราจะเลือกภาพกราฟิกของ Face_base ดังนี้

ทำการเปิด Photoshop หรือใครเบื่อก็ใช้ Gimp ตัดทำ Mask และ Outline ของใบหน้าออกมา ตามตัวอย่างข้างล่าง

ทำส่วนของ Mask ตัด Crop มาเฉพาะใบหน้า
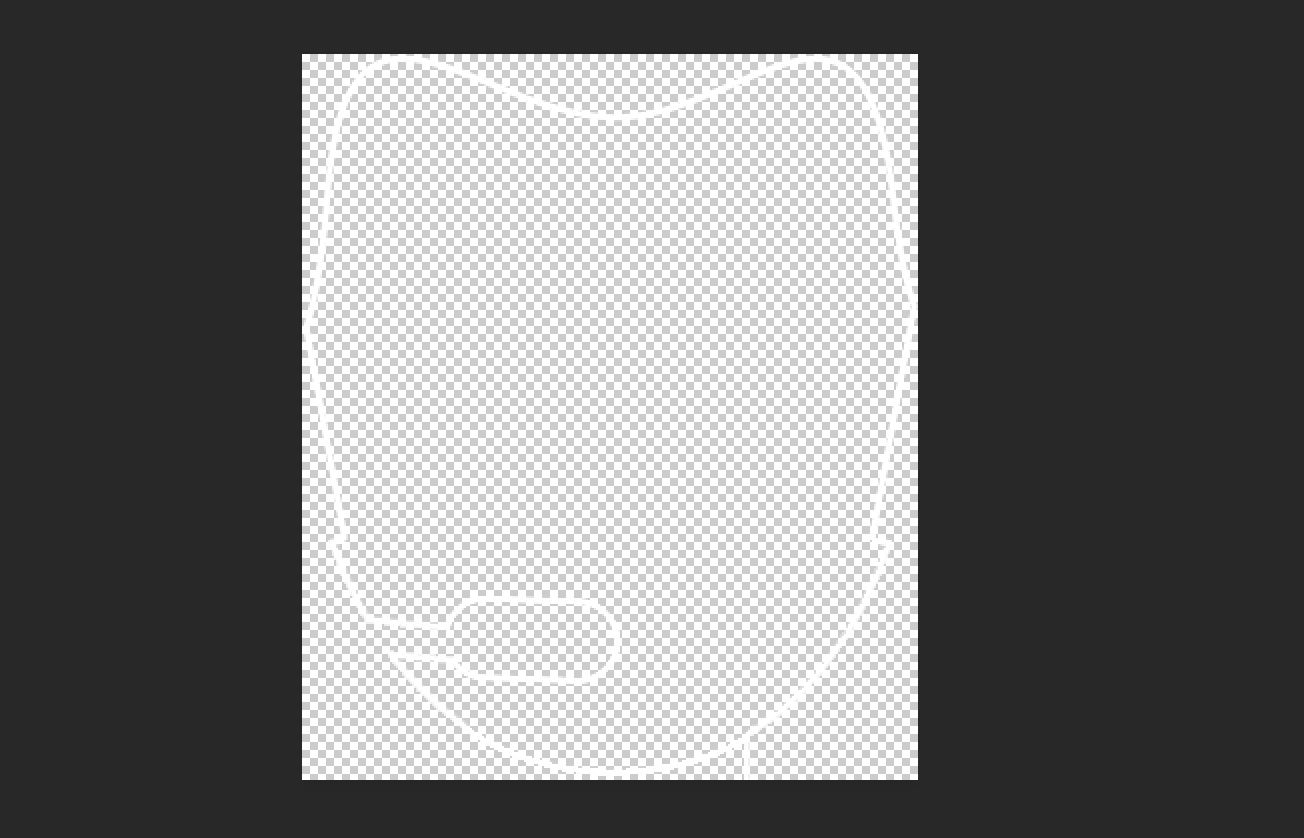
ดราฟเส้น Outline ของใบหน้าส่วน Mask เก็บไว้
จะเห็นว่าเราจะมีไฟล์กราฟิกทั้งหมด 3 ไฟล์ คือ face_base, face_mask และ face_outline สำหรับทำงานร่วมกับการถ่ายภาพ
เปิด Project unity ขึ้นมา:
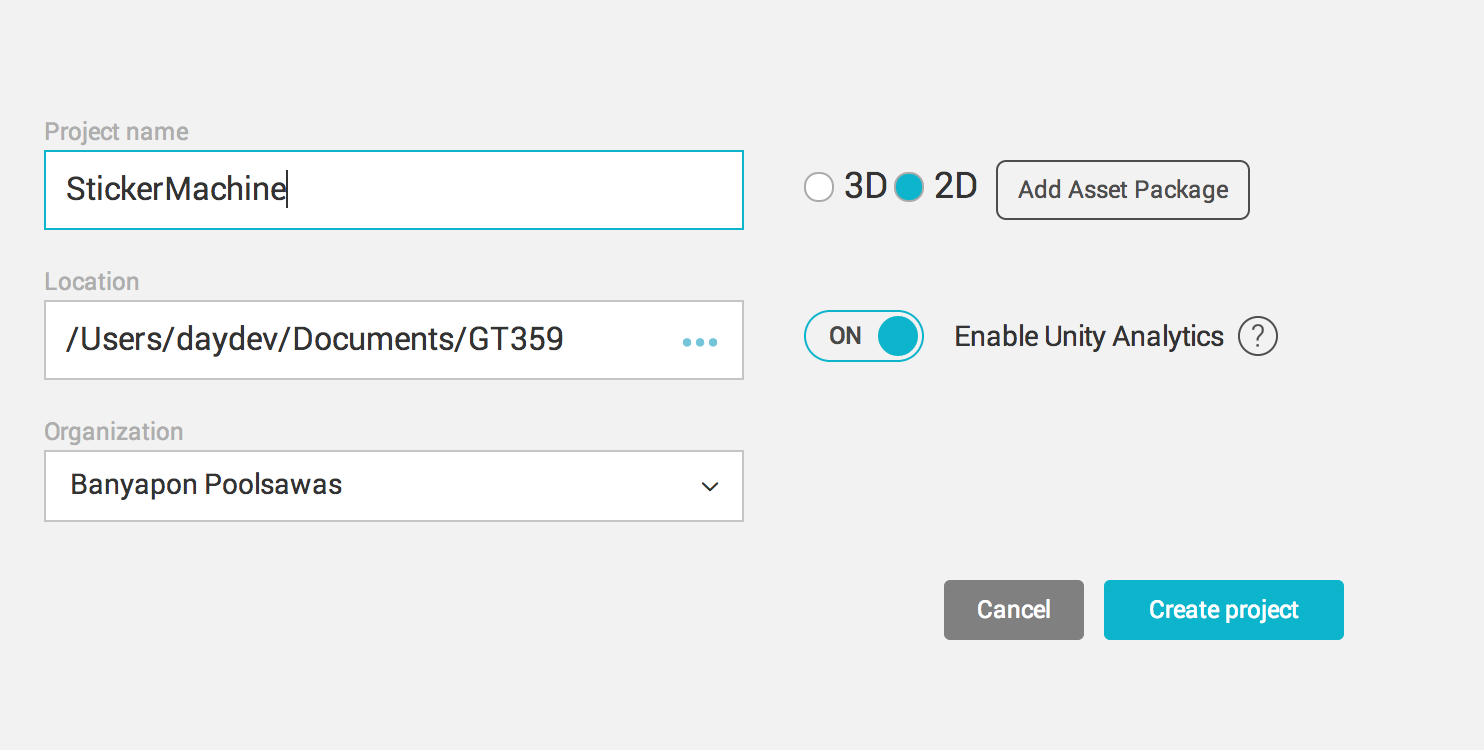
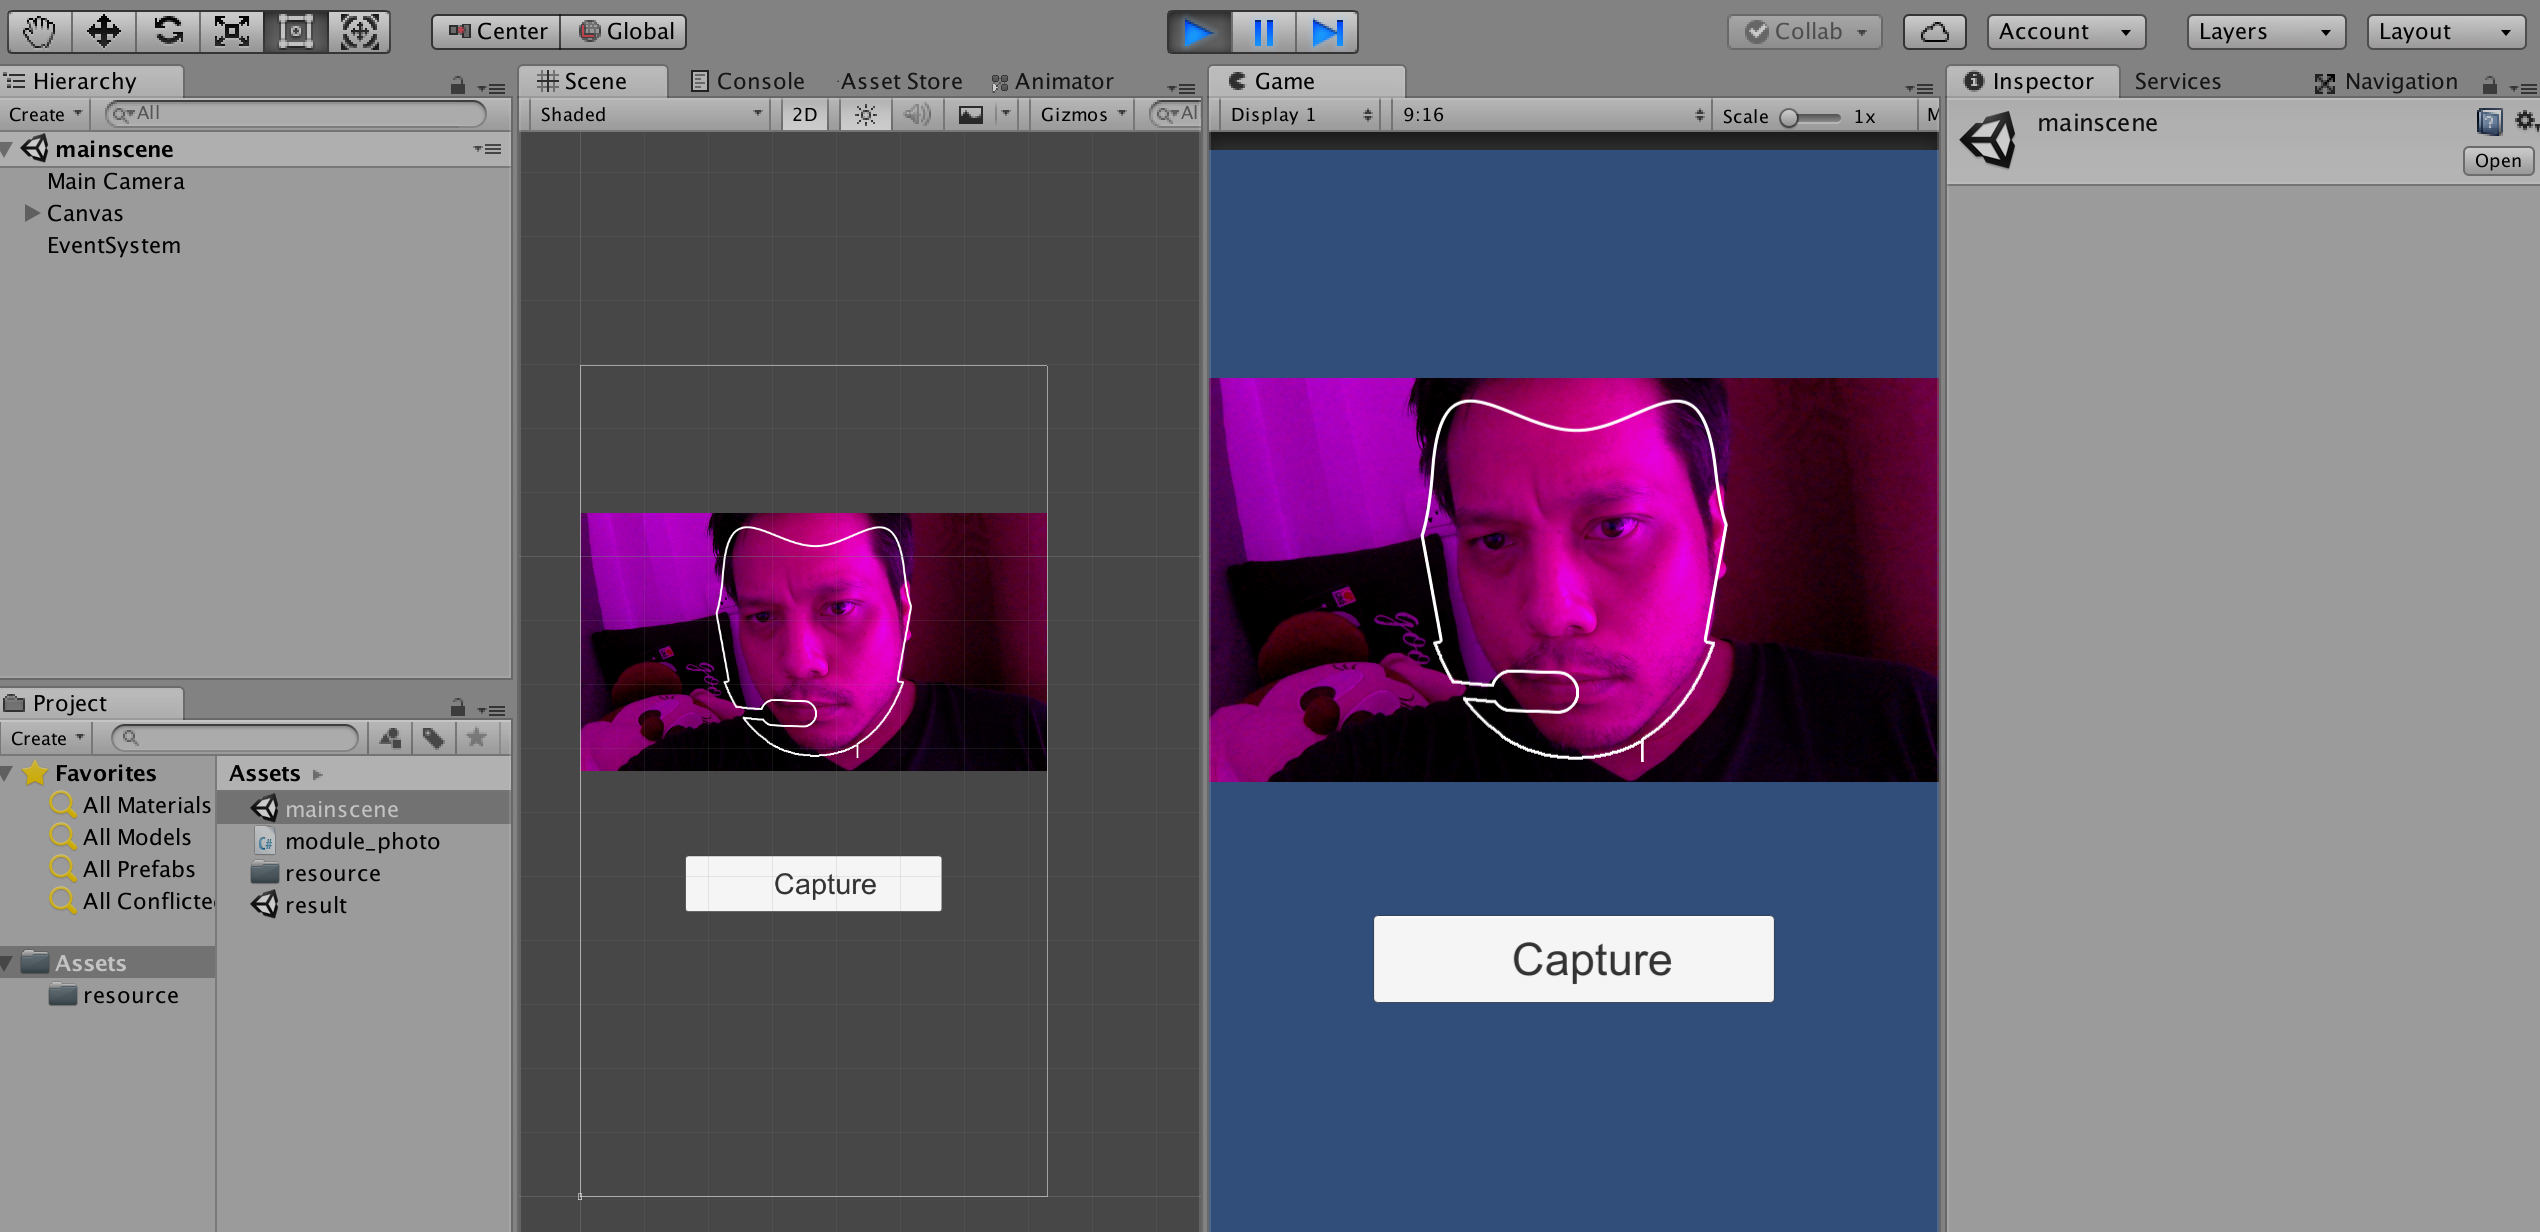
ทำการออกแบบหน้าจอเป็น Portrait 9:16 หลังจากนั้นวาง Canvas ส่วนของ Button และ RawImage ลงไปออกแบบหน้าจอ UI ของเกม
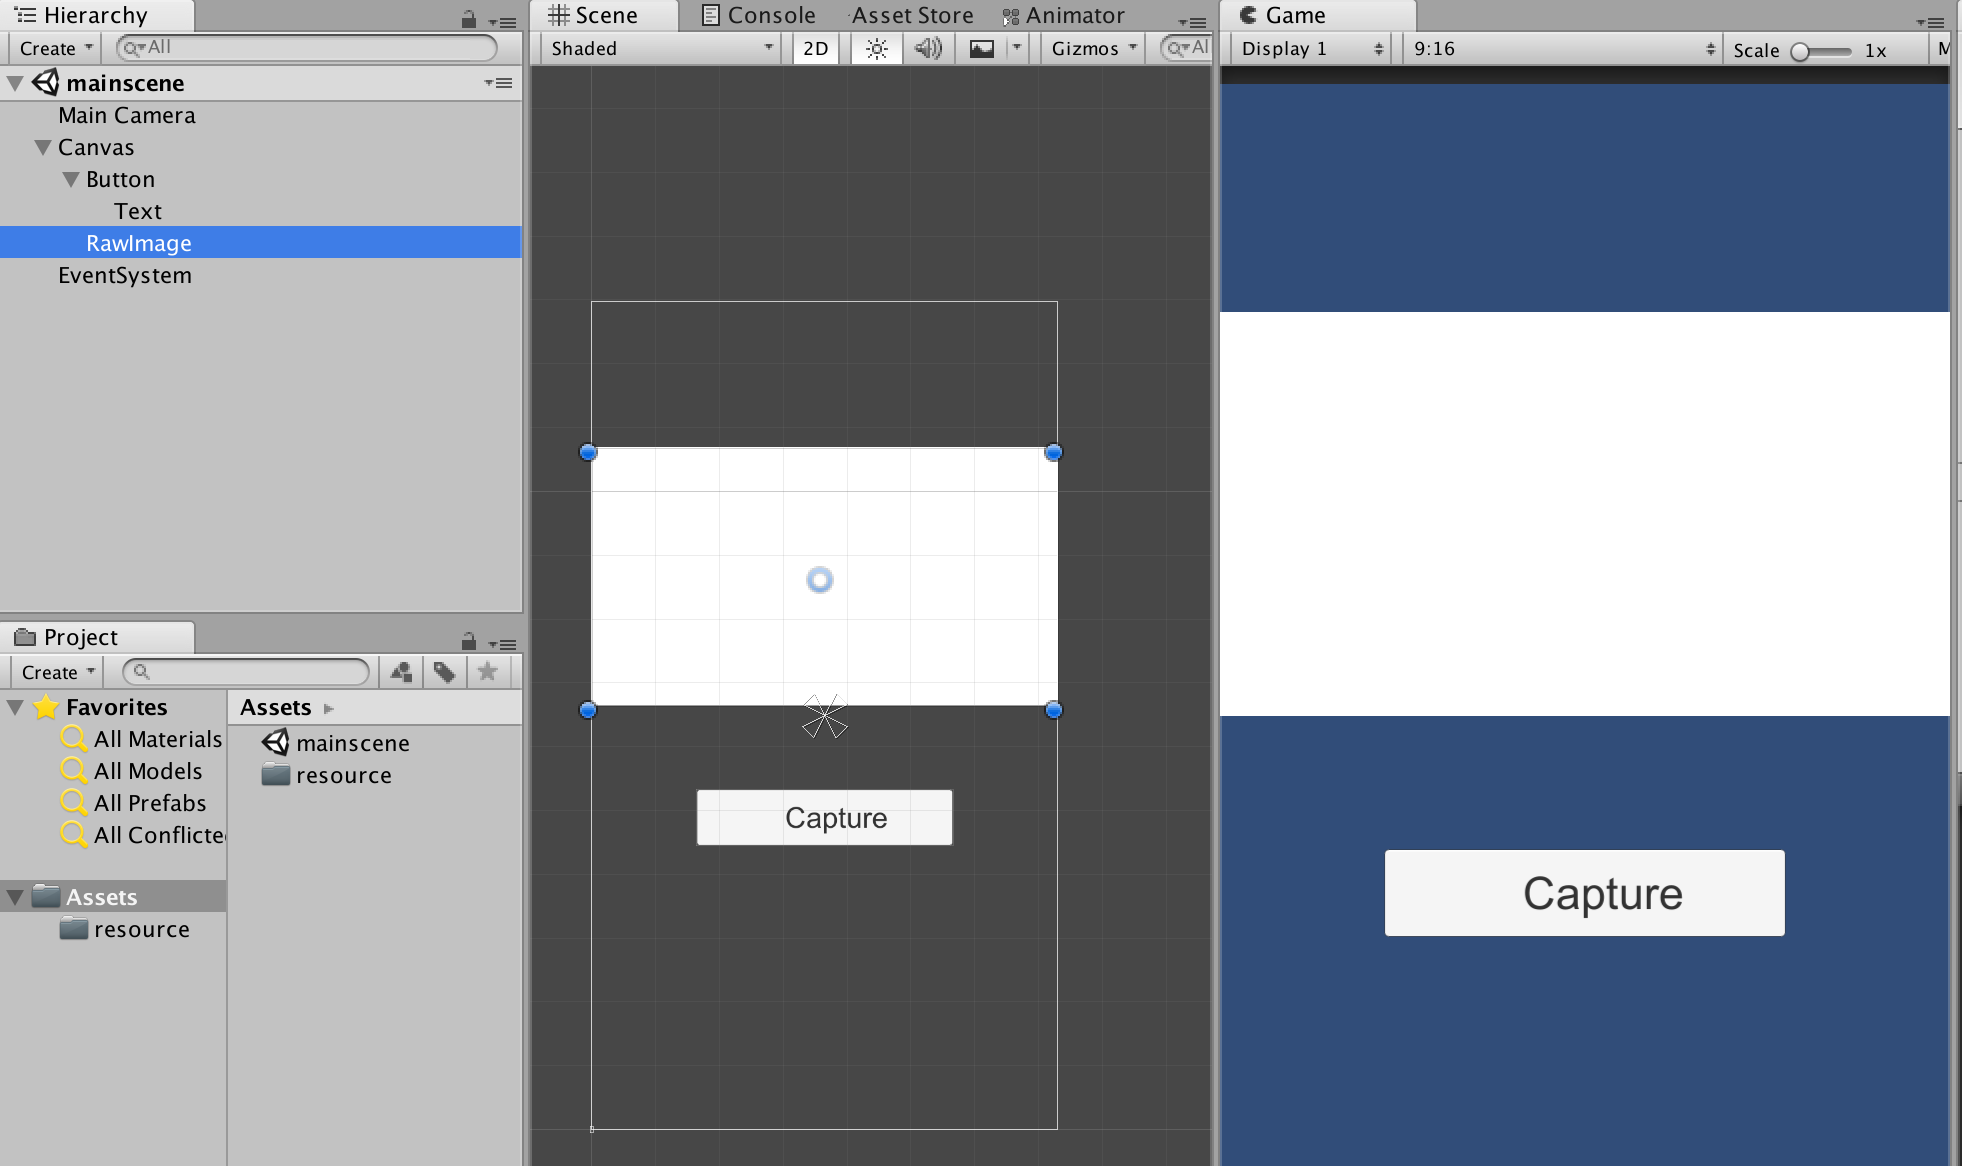
ไปที่ Main Camera สร้าง C# Script ขึ้นมาชื่อว่า module_photo.cs เขียนคำสั่งดังนี้:
using System.Collections;
using System.Collections.Generic;
using UnityEngine;
using System.IO;
using UnityEngine.UI;
using UnityEngine.SceneManagement;
ประกาศส่วนของ Global Variable ดังนี้:
WebCamTexture webCamTexture;
public RawImage rawimage;
public string chars = "ABCDEFGHIJKLMNOPQRSTUVWXYZ0123456789";
public string code = "";
ภาพที่ถ่ายได้จะทำการ สุ่ม chars ออกเป็นอักขระที่ไม่ซ้ำกันเก็บลงตัวแปร code ทำการ implement ส่วนของเมธอด start() ดังนี้:
void Start () {
		webCamTexture = new WebCamTexture();
		rawimage.texture = webCamTexture;
		rawimage.material.mainTexture = webCamTexture;
		GetComponent<Renderer>().material.mainTexture = webCamTexture;
		webCamTexture.Play();

		for (int i = 0; i < 20; i++) {
			int a = Random.Range(0, chars.Length);
			code = code + chars[a];
		}
	}
เป็นการเรียกทำงานของ rawImage ให้ไปแสดงผล webCamTexture ดังนั้นต้องลาก RawImage จาก Hierarchy ไปวางที่ Maincamera ส่วนของ module_photo เมื่อทำงานถูกให้เพิ่ม Mesh Renderer เข้าไปใน Main Camera
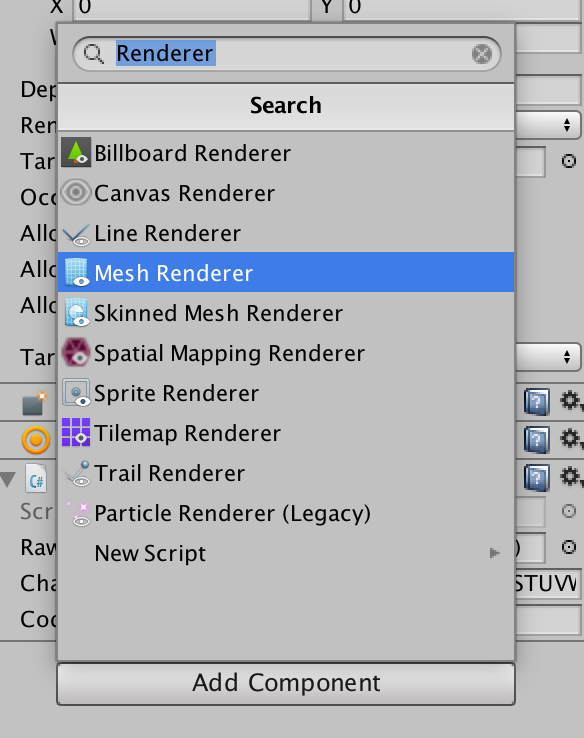
เพิ่มคำสั่งต่อไปนี้:
public void ShootCamera(){
		StartCoroutine(TakePhoto());
	}

	IEnumerator TakePhoto()
	{
		yield return new WaitForEndOfFrame();

		Texture2D photo = new Texture2D(webCamTexture.width, webCamTexture.height);
		photo.SetPixels(webCamTexture.GetPixels());
		photo.Apply();
		byte[] bytes = photo.EncodeToPNG();
		File.WriteAllBytes("photos/"+code+".png", bytes);

		PlayerPrefs.SetString("code", ""+code);
		webCamTexture.Stop ();
		StartCoroutine(LoadGameScene());
	}

	IEnumerator LoadGameScene() {
		yield return new WaitForSeconds(1);
		AsyncOperation async = SceneManager.LoadSceneAsync(1);
		while (!async.isDone) {
			yield return null;
		}
	}
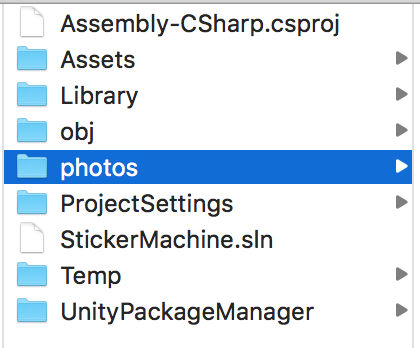
เมธอด ShootCamera จะไปเรียก TakePhoto() เพื่อทำการสร้างไฟล์ PNG ขึ้นมา แล้วไปจัดเก็บใน folder ชื่อว่า photos ซึ่งเราต้องไปสร้าง folder ดังกล่าวไว้ที่ photos (และอย่าลืมเมื่อไรที่ Publish เป็น standalone ต้องสร้าง folder ไว้ path เดียวกับ ตัวเกม EXE)
ปรับค่าของ Inspector ของ module_photo เป็นดังนี้
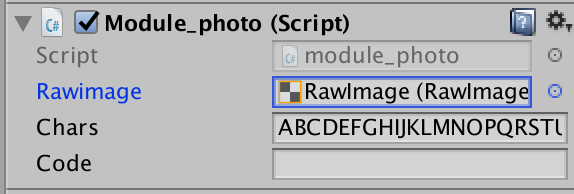
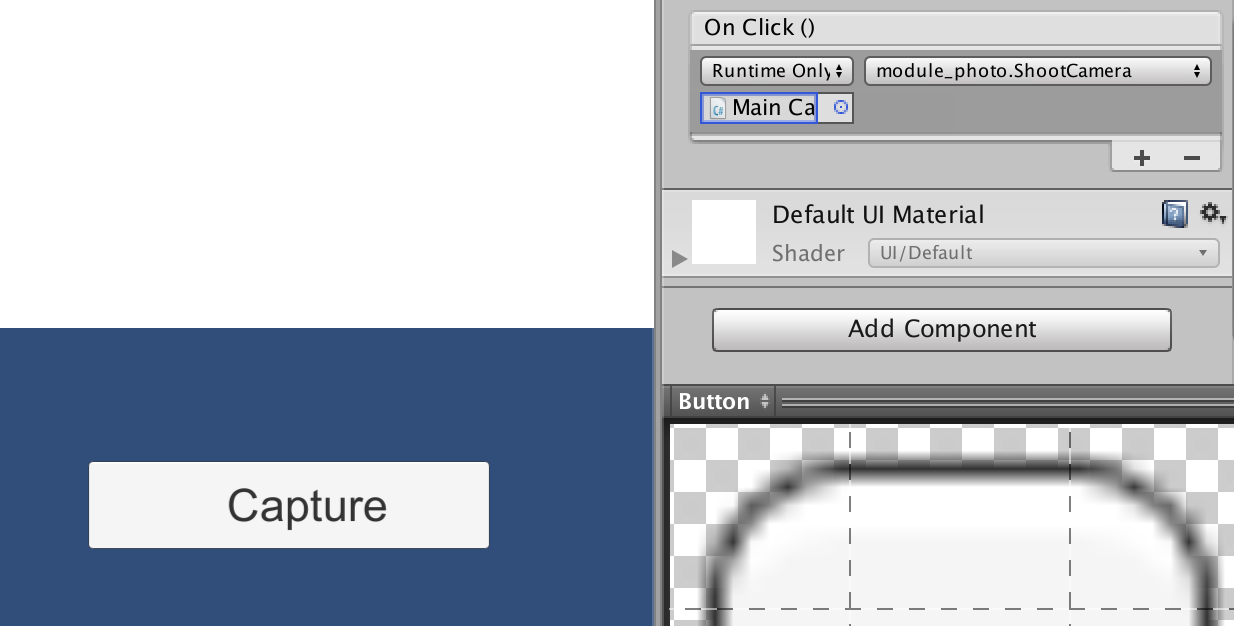
ส่วนของ UI Button ให้ลาก Main Camera ที่มี Module_photo ไปวางไว้แล้วเรียก Action ไปที่ ShootCamera
วาง Outline ของใบหน้าไว้ใน Raw Image
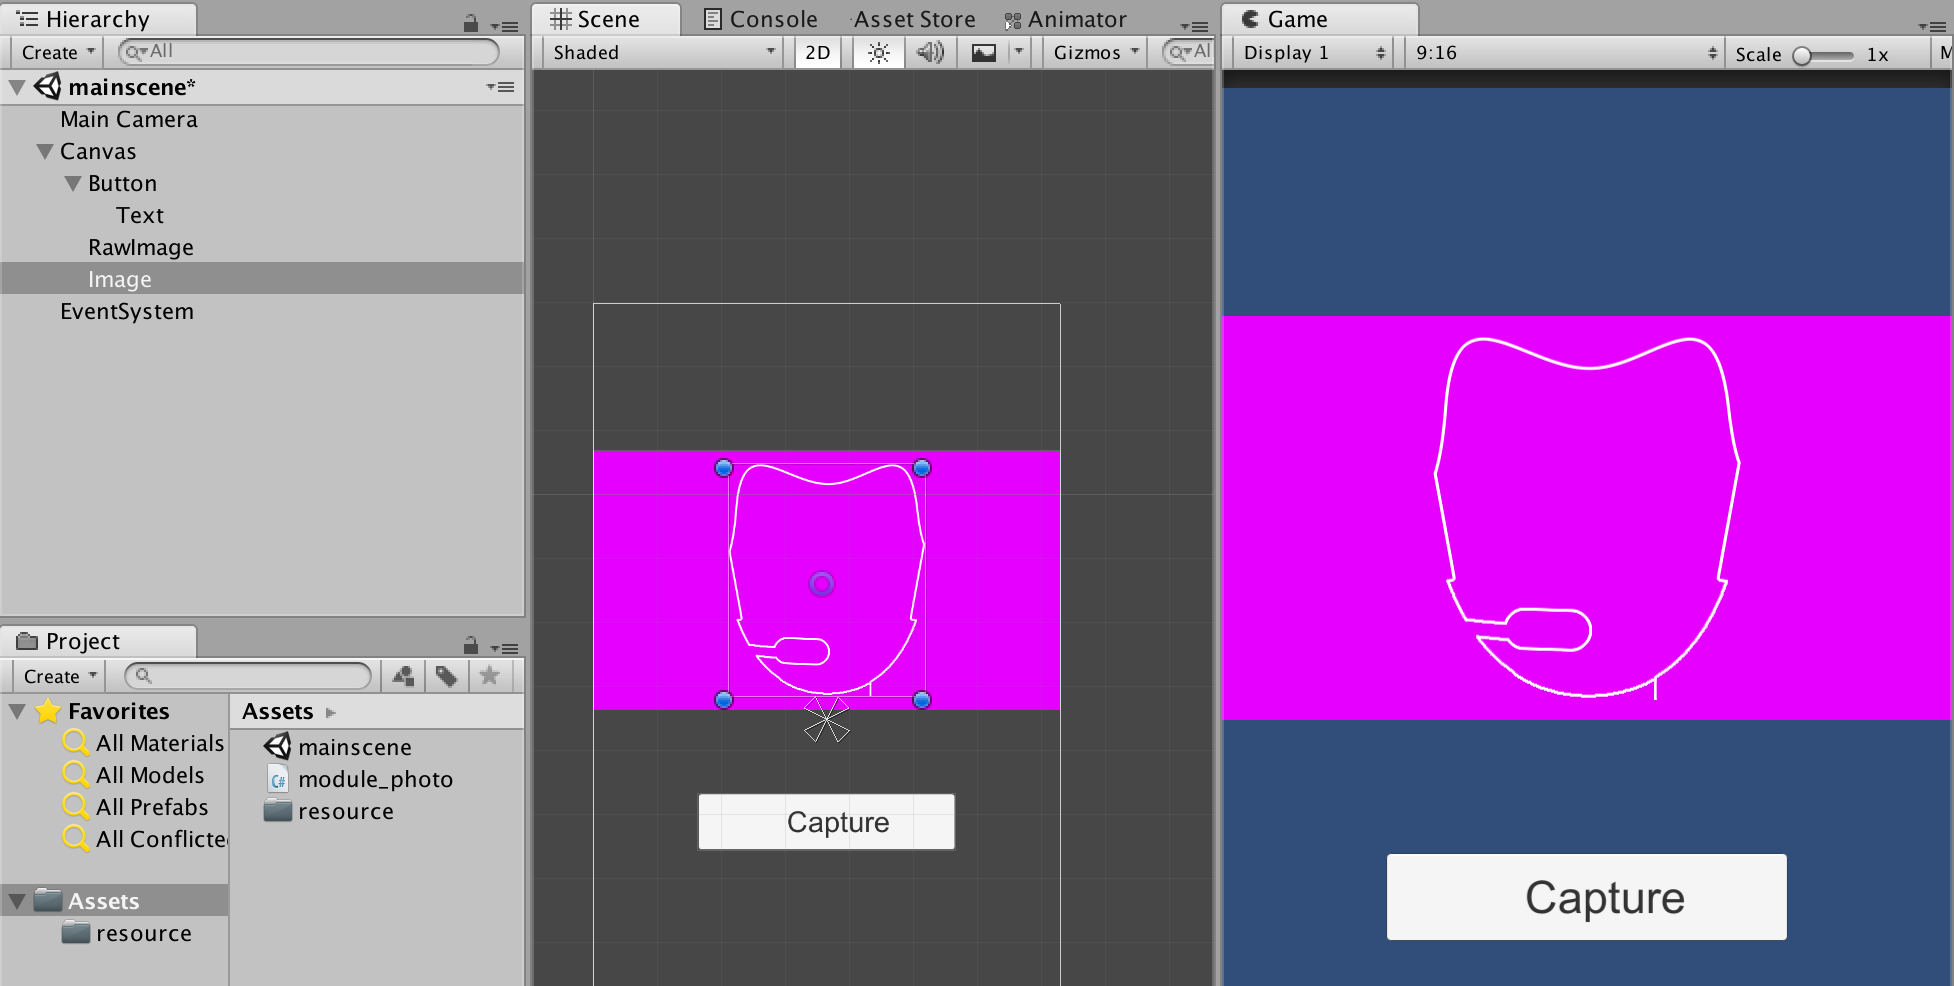
ทำหน้า Scene อีกหน้าไว้ตอนถ่ายภาพเสร็จ กลับมาดูภาพรวมของ module_photo จะเป็นดังนี้:
using System.Collections;
using System.Collections.Generic;
using UnityEngine;
using System.IO;
using UnityEngine.UI;
using UnityEngine.SceneManagement;

public class module_photo : MonoBehaviour {

	WebCamTexture webCamTexture;
	public RawImage rawimage;
	public string chars = "ABCDEFGHIJKLMNOPQRSTUVWXYZ0123456789";
	public string code = "";

	void Start () {
		webCamTexture = new WebCamTexture();
		rawimage.texture = webCamTexture;
		rawimage.material.mainTexture = webCamTexture;
		GetComponent<Renderer>().material.mainTexture = webCamTexture;
		webCamTexture.Play();

		for (int i = 0; i < 20; i++) {
			int a = Random.Range(0, chars.Length);
			code = code + chars[a];
		}
	}

	public void ShootCamera(){
		StartCoroutine(TakePhoto());
	}

	IEnumerator TakePhoto()
	{
		yield return new WaitForEndOfFrame();

		Texture2D photo = new Texture2D(webCamTexture.width, webCamTexture.height);
		photo.SetPixels(webCamTexture.GetPixels());
		photo.Apply();
		byte[] bytes = photo.EncodeToPNG();
		File.WriteAllBytes("photos/"+code+".png", bytes);

		PlayerPrefs.SetString("code", ""+code);
		webCamTexture.Stop ();
		StartCoroutine(LoadGameScene());
	}

	IEnumerator LoadGameScene() {
		yield return new WaitForSeconds(1);
		AsyncOperation async = SceneManager.LoadSceneAsync(1);
		while (!async.isDone) {
			yield return null;
		}
	}
}
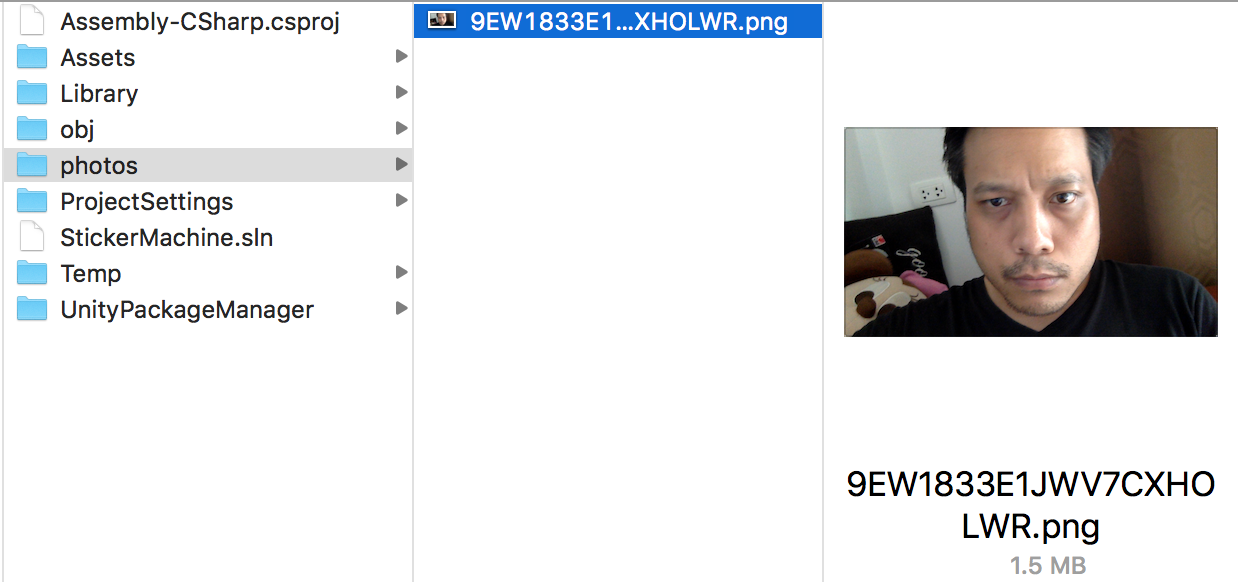
ทดสอบการถ่ายภาพของเรา

ภาพของเราจะถูกเก็บไว้ที่ folder photos ที่อยู่ path เดียวกับ Assets ของ Unity
หน้าที่ 2 ของแอพพลิเคชันให้เราออกแบบหน้าจอ โดยการวาง face_base และ Mask ลงไปดังนี้:
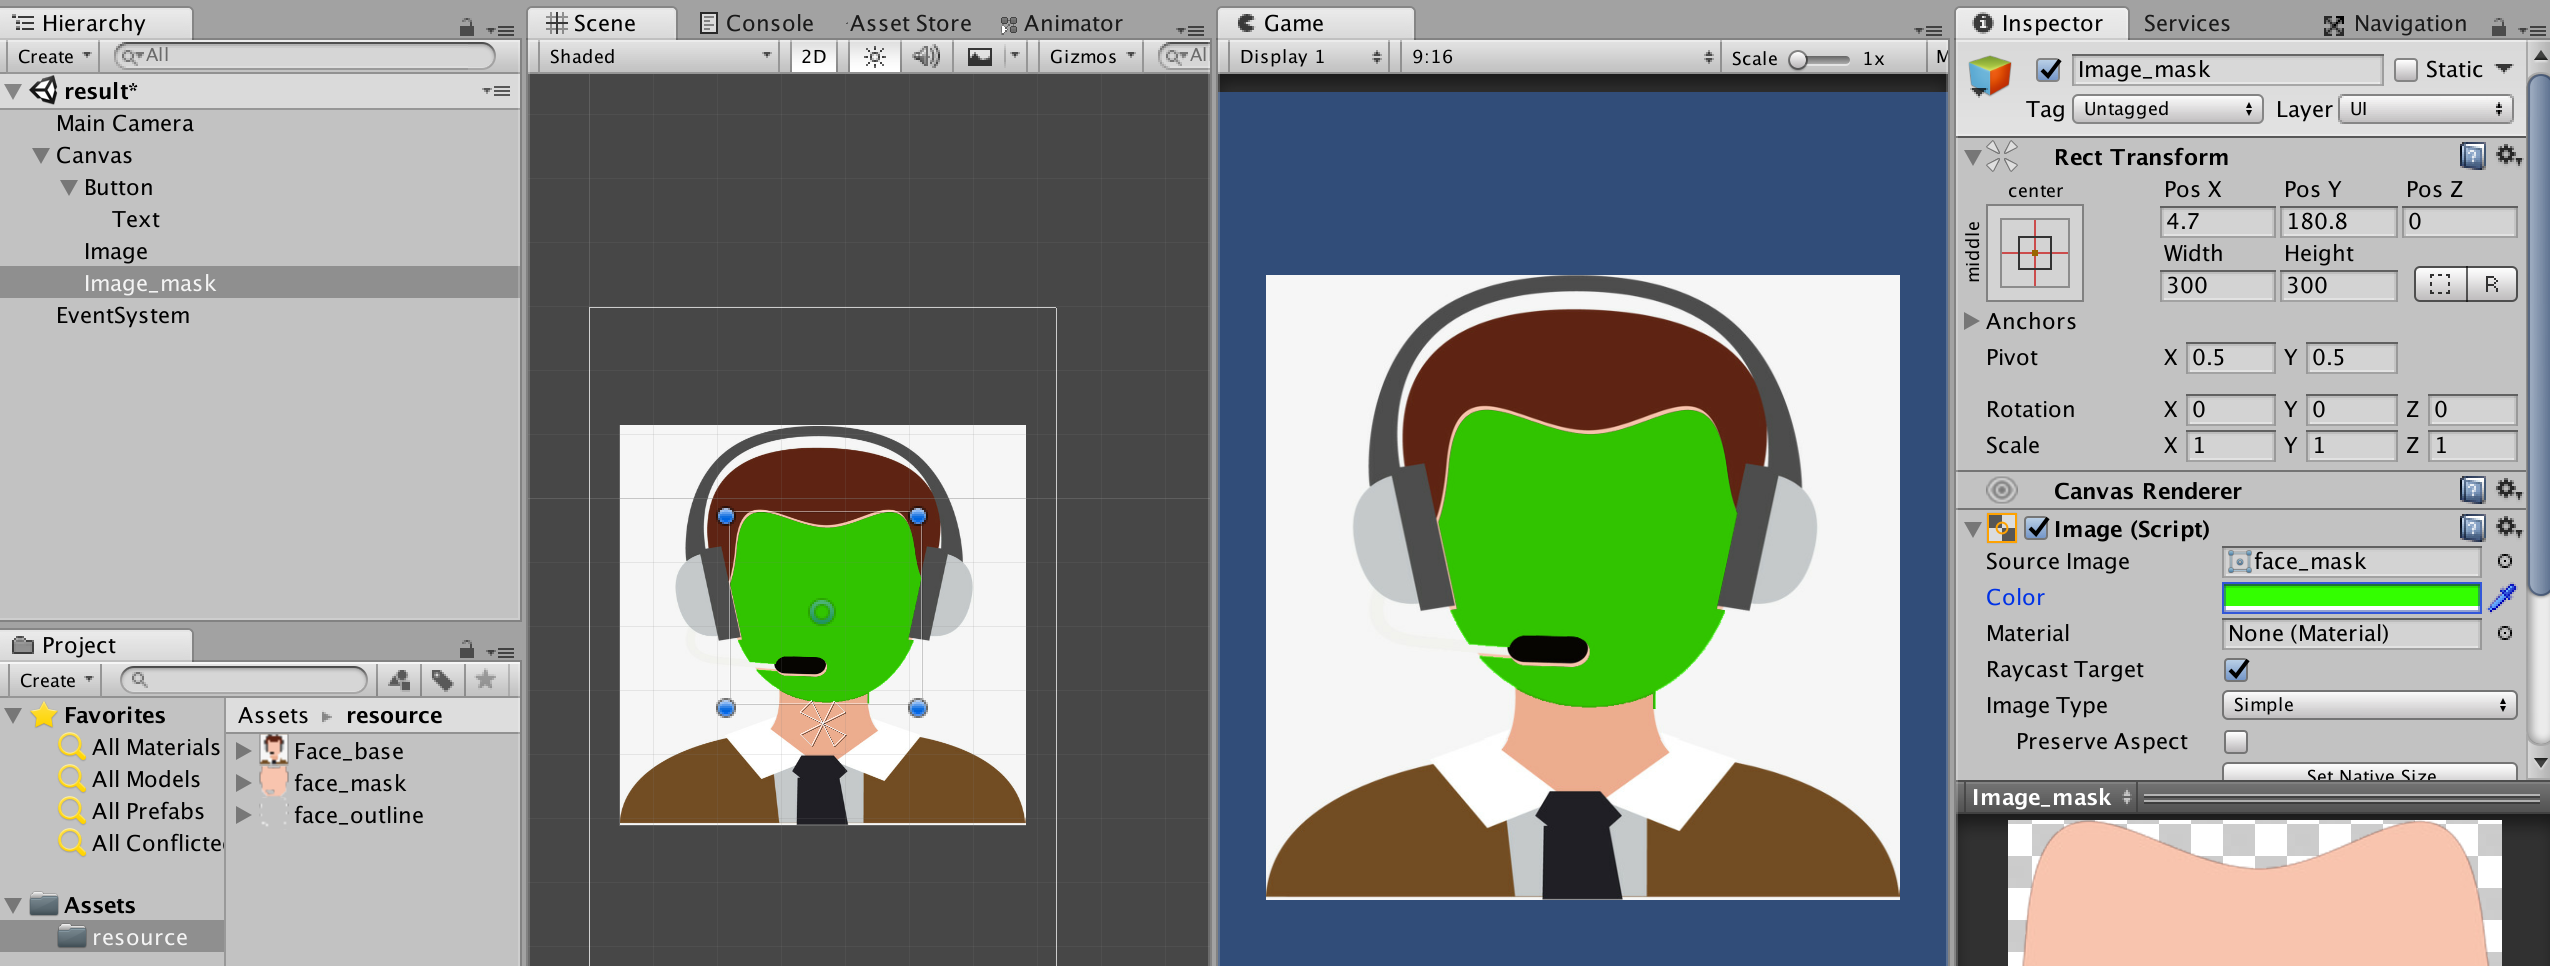
เอา Image แล้วเลือก Face_mask มาวางซ้อนใบหน้าของ face base ปรับสีให้แตกต่าง หลังจากนั้นให้สร้าง RawImage ข้างใน Face_mask อีกที
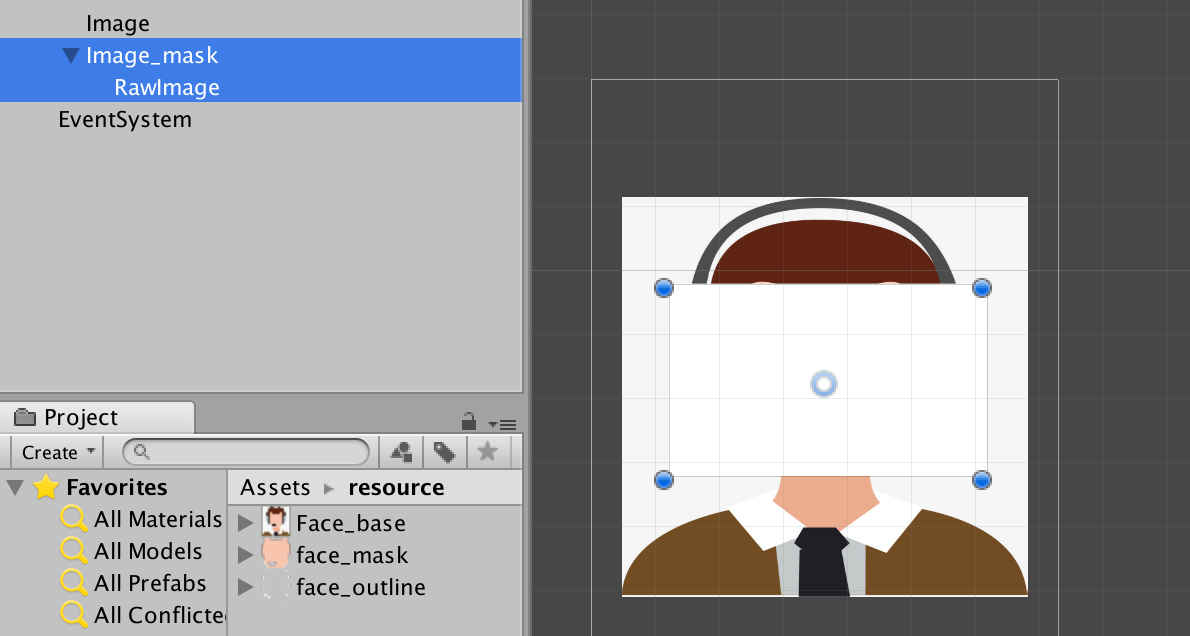
ไปที่ face mask หรือ Image_mask เลือก Inspector ใส่ Component เพิ่มเข้าไปคือ

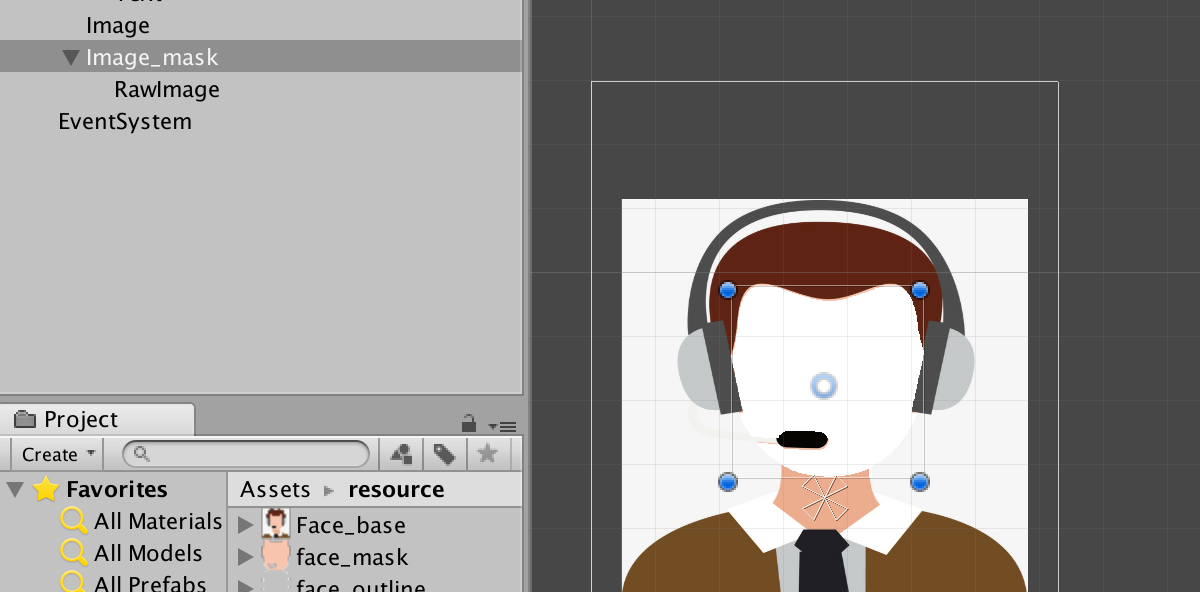
แทรกส่วนของ Mask ลงไป จะเห็นว่าใบหน้าของ RawImage จะปรากฏแค่ส่วนที่มี Face Mask คลุมไว้
สร้าง Script C# ขึ้นมาว่า module_result.cs
using System.Collections;
using System.Collections.Generic;
using UnityEngine;
using System.IO;
using UnityEngine.UI;
using UnityEngine.SceneManagement;

public class module_result : MonoBehaviour {

	public string get_code, filePath;
	Texture2D myTexture;

	void Start () {
		get_code = PlayerPrefs.GetString ("code");
		Debug.Log ("photos/" + get_code + ".png");
		myTexture = null;
		byte[] fileData;
		filePath = "photos/" + get_code + ".png";
		if (File.Exists (filePath)) {
			Debug.Log ("get");
			fileData = File.ReadAllBytes (filePath);
			myTexture = new Texture2D (2, 2);
			myTexture.LoadImage (fileData);
			GameObject rawImage = GameObject.Find ("RawImage");
			rawImage.GetComponent<RawImage> ().texture = myTexture;
		}
	}
}
เป็นการรับค่า PlayerPref ส่วนของ code ที่เรา Generate จากหน้าก่อนหน้า เก็บไว้มาเรียกให้ RawImage ดึงใบหน้าของเราขึ้นมา แล้ว Crop ด้วย Mask ของ Face Mask ทดสอบโดยการรัน
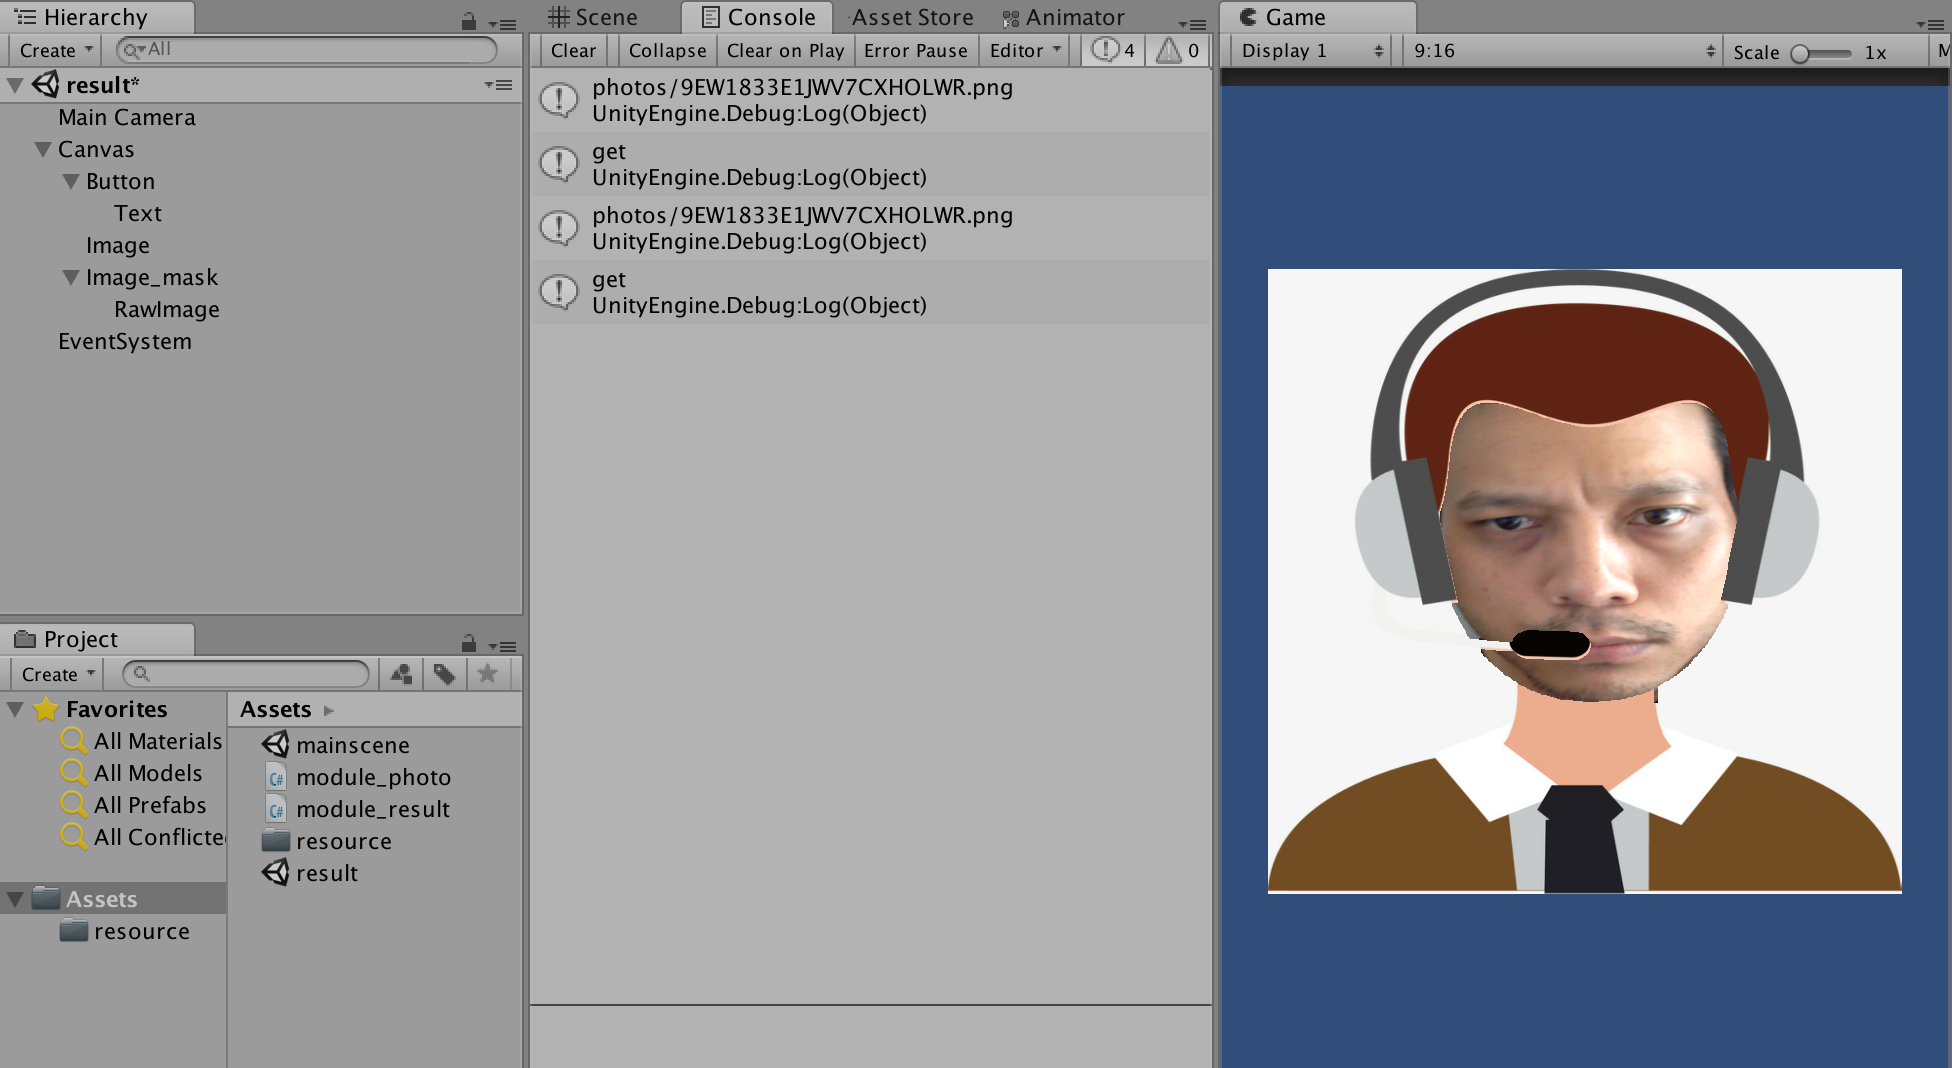
ขั้นตอนต่อมาคือการทำ Screenshot เพื่อ Generate ภาพนี้เอาไปใช้ เป็น ไฟล์ PNG ไว้แชร์กันเป็น Class ของคนอื่นจาก Stackoverflow ครับ ให้สร้าง folder ชื่อ screenshots แล้วเอาตัวนี้ไปใช้กับปุ่ม Save
using System.Collections;
using System.Collections.Generic;
using UnityEngine;
using System.IO;
using UnityEngine.UI;
using UnityEngine.SceneManagement;

public class HiResScreenShots : MonoBehaviour {
	 public string get_code;
	public GameObject qr_bar, okgroup;
    // 4k = 3840 x 2160   1080p = 1920 x 1080
     public int captureWidth = 1080;
     public int captureHeight = 1920;

     // optional game object to hide during screenshots (usually your scene canvas hud)
     public GameObject hideGameObject;

     // optimize for many screenshots will not destroy any objects so future screenshots will be fast
     public bool optimizeForManyScreenshots = true;

     // configure with raw, jpg, png, or ppm (simple raw format)
     public enum Format { RAW, JPG, PNG, PPM };
     public Format format = Format.PPM;

     // folder to write output (defaults to data path)
     public string folder;

     // private vars for screenshot
     private Rect rect;
     private RenderTexture renderTexture;
     private Texture2D screenShot;
     private int counter = 0; // image #

     // commands
     private bool captureScreenshot = false;
     private bool captureVideo = false;

     // create a unique filename using a one-up variable
     private string uniqueFilename(int width, int height)
     {
     	 get_code = PlayerPrefs.GetString("code");
         // if folder not specified by now use a good default
         if (folder == null || folder.Length == 0)
         {
             folder = Application.dataPath;
             if (Application.isEditor)
             {
                 // put screenshots in folder above asset path so unity doesn't index the files
                 //var stringPath = folder + "../screenshots";
             	var stringPath = "screenshots";
                 folder = Path.GetFullPath(stringPath);
             }else{
             	folder = Path.GetFullPath("screenshots");
             }
             folder += "/"+get_code+"";

             // make sure directoroy exists
             System.IO.Directory.CreateDirectory(folder);

             // count number of files of specified format in folder
             string mask = string.Format("screen_{0}x{1}*.{2}", width, height, format.ToString().ToLower());
             counter = Directory.GetFiles(folder, mask, SearchOption.TopDirectoryOnly).Length;
         }

         // use width, height, and counter for unique file name
         var filename = string.Format("{0}/{1}_{2}x{3}_{4}.{5}", folder,get_code, width, height, counter, format.ToString().ToLower());

         // up counter for next call
         ++counter;

         // return unique filename
         return filename;
     }

     public void CaptureScreenshot()
     {
         captureScreenshot = true;
		  qr_bar.SetActive (true);
		okgroup.SetActive (true);
     }

     void Update()
     {
         // check keyboard 'k' for one time screenshot capture and holding down 'v' for continious screenshots
         captureScreenshot |= Input.GetKeyDown("k");
         captureVideo = Input.GetKey("v");

         if (captureScreenshot || captureVideo)
         {
             captureScreenshot = false;

             // hide optional game object if set
             if (hideGameObject != null) hideGameObject.SetActive(false);

             // create screenshot objects if needed
             if (renderTexture == null)
             {
                 // creates off-screen render texture that can rendered into
                 rect = new Rect(0, 0, captureWidth, captureHeight);
                 renderTexture = new RenderTexture(captureWidth, captureHeight, 24);
                 screenShot = new Texture2D(captureWidth, captureHeight, TextureFormat.RGB24, false);
             }

             // get main camera and manually render scene into rt
             Camera camera = this.GetComponent<Camera>(); // NOTE: added because there was no reference to camera in original script; must add this script to Camera
             camera.targetTexture = renderTexture;
             camera.Render();

             // read pixels will read from the currently active render texture so make our offscreen
             // render texture active and then read the pixels
             RenderTexture.active = renderTexture;
             screenShot.ReadPixels(rect, 0, 0);

             // reset active camera texture and render texture
             camera.targetTexture = null;
             RenderTexture.active = null;

             // get our unique filename
             string filename = uniqueFilename((int) rect.width, (int) rect.height);

             // pull in our file header/data bytes for the specified image format (has to be done from main thread)
             byte[] fileHeader = null;
             byte[] fileData = null;
             if (format == Format.RAW)
             {
                 fileData = screenShot.GetRawTextureData();
             }
             else if (format == Format.PNG)
             {
                 fileData = screenShot.EncodeToPNG();
             }
             else if (format == Format.JPG)
             {
                 fileData = screenShot.EncodeToJPG();
             }
             else // ppm
             {
                 // create a file header for ppm formatted file
                 string headerStr = string.Format("P6\n{0} {1}\n255\n", rect.width, rect.height);
                 fileHeader = System.Text.Encoding.ASCII.GetBytes(headerStr);
                 fileData = screenShot.GetRawTextureData();
             }

             // create new thread to save the image to file (only operation that can be done in background)
             new System.Threading.Thread(() =>
             {
                 // create file and write optional header with image bytes
                 var f = System.IO.File.Create(filename);
                 if (fileHeader != null) f.Write(fileHeader, 0, fileHeader.Length);
                 f.Write(fileData, 0, fileData.Length);
                 f.Close();
                 Debug.Log(string.Format("Wrote screenshot {0} of size {1}", filename, fileData.Length));
             }).Start();

             // unhide optional game object if set
             if (hideGameObject != null) hideGameObject.SetActive(true);

             // cleanup if needed
             if (optimizeForManyScreenshots == false)
             {
                 Destroy(renderTexture);
                 renderTexture = null;
                 screenShot = null;
             }
         }
     }
 }
เรียบร้อยละ แค่นี้เราก็สร้าง Interactive Media โปรแกรมได้หนึ่งตัวแล้วเอาไปประยุคใช้กันนะ
Source code: https://github.com/banyapondpu/stickermachineUnity


