บทเรียนการเขียน Widget บน iOS8 สำหรับผู้เริ่มต้นด้วยภาษา Swift แบบง่ายเหมาะกับการสร้าง UI ในหน้าจอ Lock Screen หรือส่วนที่เราต้อง Pull Down ลงมาจากตำแหน่งบนสุดของหน้าจอ
ส่วนมาก หน้าจอของ Widget นั้นเราจะไม่เน้นการออกแบบที่ซับซ้อน UI ของส่วนนี้จะต้องเป็นอะไรที่ อ่านง่าย เข้าใจง่าย เช่นพวก Stock หุ้น หรือ Calendar เป็นต้น ดังนั้น Widget จึงต้องเป็นอะไรที่ใช้ง่าย และต้องคำนึงถึงฟังก์ชันของมันนั่นคือการ “เตือน” หรือ “แจ้ง” นั่นเอง
Widget นั้นก็ไม่ใช่อะไรที่จะพัฒนายากเย็นหรอกครับ บทเรียนนี้จึงนำเสนอวิธีการสร้าง Widget เกี่ยวกับ แจ้งเวลา หรือเตือนเวลามาให้รู้ว่ามันทำงานง่าย
เปิด XCode ขึ้นมา

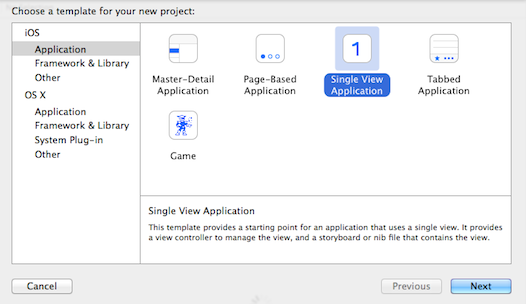
สร้าง New Project ขึ้นมาเป็น Single View Application ครับ เลอกเป็นภาษา Swift ในการพัฒนา

เมื่อพร้อมแล้วให้ไปที่ File > New > Target อีกรอบ
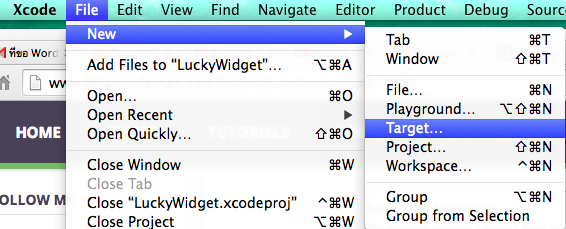
เลือก Template ของ Application Extension เป็น Today Extension ครับ

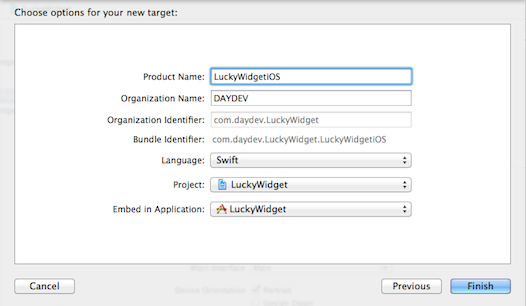
ตั้งชื่อให้สอดคล้องกับ แอพพลิเคชันของเราสักหน่อย
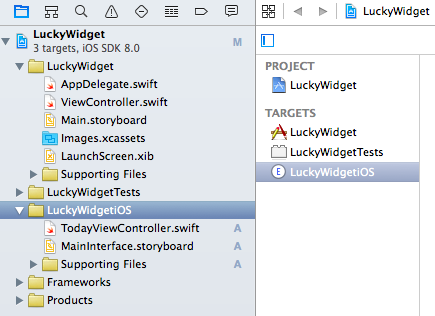
เราจะได้ Extension เพิ่มมาใน Project ของเราพร้อมไฟล์ MainStoryInterface.StoryBoard และ Swift File
เปิด MainStoryInterface.StoryBoard ขึ้นมาให้เคลียร์ หรือลบข้อความ Hello world ออกไปเลยครับไม่ใช้และ
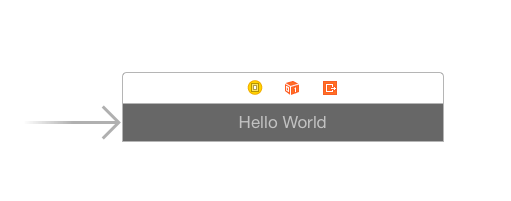
ทำการปรับความสูงตามใจชอบครับผ่าน Inspector ด้านข้าง

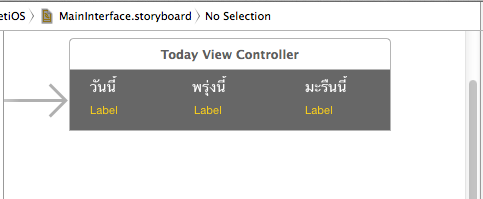
ตัวอย่างแอพพลิเคชัน Widget นี้ผมจะทำ แอพเตือนว่าถูกหวยหรือเปล่าง่ายๆ ก็ใช้ UILabel มาวางตามรูปแบบที่ต้องการ แล้วทำการ Link ตัว UILabel ไปสร้าง IBOutlet ของ TodayViewController.swift
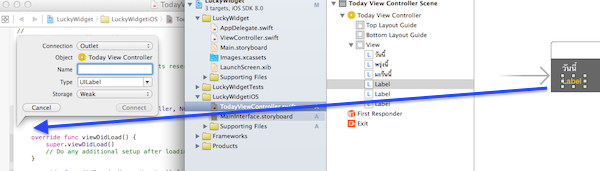
ผมสร้าง UI ตามนี้
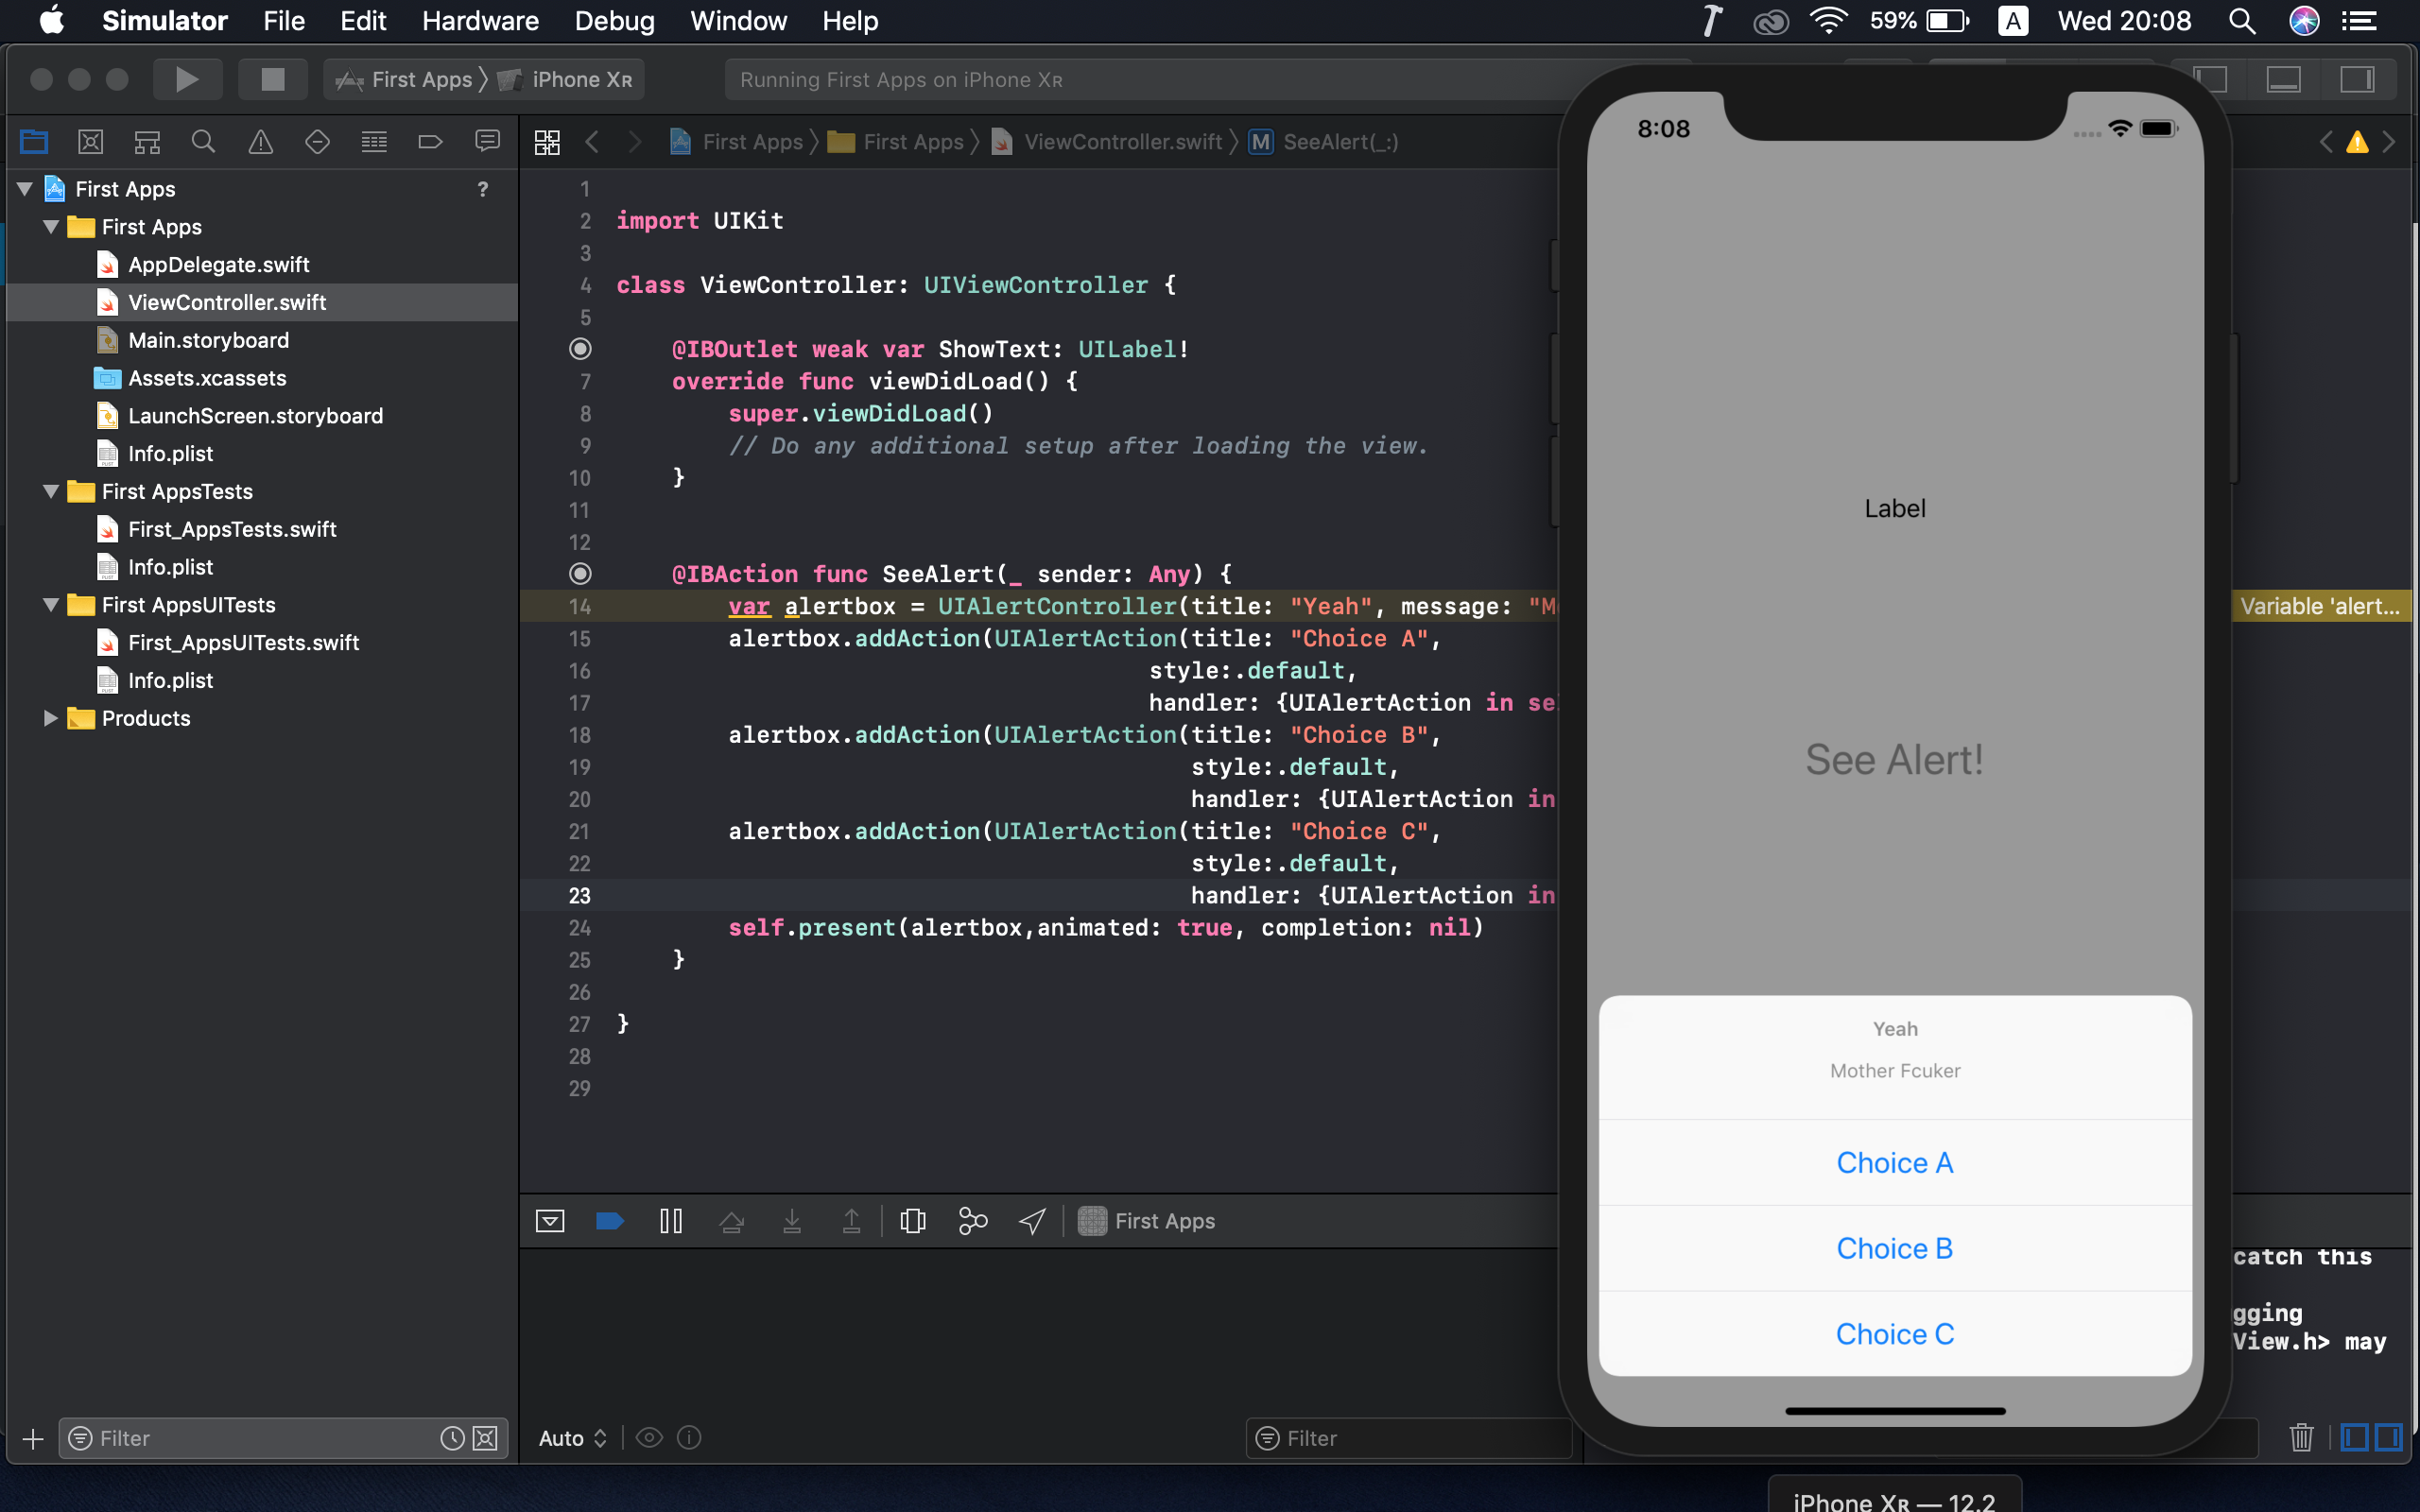
ส่วนของ Code ที่สร้าง IBoutlet คือ
import UIKit
import NotificationCenter

class TodayViewController: UIViewController, NCWidgetProviding {


    @IBOutlet weak var toDayLabel: UILabel!
    @IBOutlet weak var toMorrowLabel: UILabel!
    @IBOutlet weak var nextTwoDayLabel: UILabel!
ทำการเซ็ตค่า CGSizeMake ให้พอดีกับหน้าจอ ใน viewDidLoad() สักหน่อย
override func viewDidLoad() {
        super.viewDidLoad()
        // Do any additional setup after loading the view from its nib.
        self.preferredContentSize = CGSizeMake(320,50)
    }
เขียน Function เพิ่มขึ้นมาเพื่อเรียกให้ UILabel ของเราแสดงค่า ก็เป็นฟังก์ชันง่าย สามารถสร้างตัวแปร หรือดึงฐานข้อมูลได้ตามที่เราต้องการครับ ในตัวอย่างผมก็ใส่ Static Value ตามนี้
func showFuckinDay(){
        var lotto:Int = 467
        toDayLabel.text = "หวยออก \(lotto)"
        toMorrowLabel.text = "โดนแดก"
        nextTwoDayLabel.text = "มึงจะหวังอีก?"
    }
กลับไปที่ viewDidLoad() เพิ่มการเรียกทำงานของ function showFuckinDay() ลงไป
override func viewDidLoad() {
        super.viewDidLoad()
        // Do any additional setup after loading the view from its nib.
        self.preferredContentSize = CGSizeMake(320,50)
        self.showFuckinDay()
    }
ภาพรวมของ Code ใน TodayViewController.Swift จะต้องเป็นดังนี้ครับ
//
//  TodayViewController.swift
//  LuckyWidgetiOS
//
//  Created by DAYDEV on 10/21/2557 BE.
//  Copyright (c) 2557 DAYDEV. All rights reserved.
//

import UIKit
import NotificationCenter

class TodayViewController: UIViewController, NCWidgetProviding {


    @IBOutlet weak var toDayLabel: UILabel!
    @IBOutlet weak var toMorrowLabel: UILabel!
    @IBOutlet weak var nextTwoDayLabel: UILabel!

    override func viewDidLoad() {
        super.viewDidLoad()
        // Do any additional setup after loading the view from its nib.
        self.preferredContentSize = CGSizeMake(320,50)
        self.showFuckinDay()
    }

    override func didReceiveMemoryWarning() {
        super.didReceiveMemoryWarning()
        // Dispose of any resources that can be recreated.
    }

    func widgetPerformUpdateWithCompletionHandler(completionHandler: ((NCUpdateResult) -> Void)!) {
        // Perform any setup necessary in order to update the view.

        // If an error is encountered, use NCUpdateResult.Failed
        // If there's no update required, use NCUpdateResult.NoData
        // If there's an update, use NCUpdateResult.NewData

        completionHandler(NCUpdateResult.NewData)
    }

    func showFuckinDay(){
        var lotto:Int = 467
        toDayLabel.text = "หวยออก \(lotto)"
        toMorrowLabel.text = "โดนแดก"
        nextTwoDayLabel.text = "มึงจะหวังอีก?"
    }

}
ทดสอบให้ลอง Run ตัวแอพพลิเคชัน และตัว Widget ของเราได้เลยครับ วิธีใช้คือ Pull Down สว่นบนหน้าจอลงมา แล้วแตะที่ชื่อ LuckyWidgetiOS เลยครับ
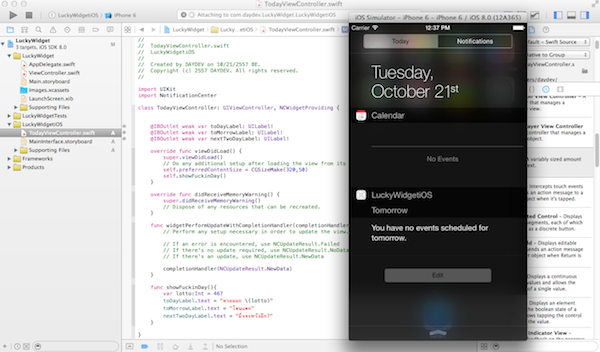
ผลลัพธ์ที่ได้ ก็ตามที่เขียนนั่นแหละครับ คงไม่มีอะไรยากหรอกมั้ง?
ดาวน์โหลด Source Code ไปศึกษาได้ที่ https://www.daydev.com/download/LuckyWidget.zip